Pay Bills
Pay bills
The Pay Bills module in the ERP system is designed to record and manage payments made to vendors against outstanding Purchase Bills. This feature ensures accurate tracking of due payments, vendor balances, and payment history for effective accounts payable management.
Purpose
When a purchase transaction is completed and a Purchase Bill is generated, the payment may be made immediately or scheduled for a future date. The Pay Bills section allows users to:
-
Record full or partial payments
-
Maintain a payment history for each bill
-
Reconcile vendor accounts
-
Track outstanding dues and payment statuses
Key Features
-
Link payments directly to specific purchase bills
-
Support for multiple payment methods (cash, cheque, bank transfer, UPI, etc.)
-
Option to record partial payments
-
Automatic update of vendor outstanding balances
-
Printable payment receipts
-
Exportable records for accounting and audit purposes
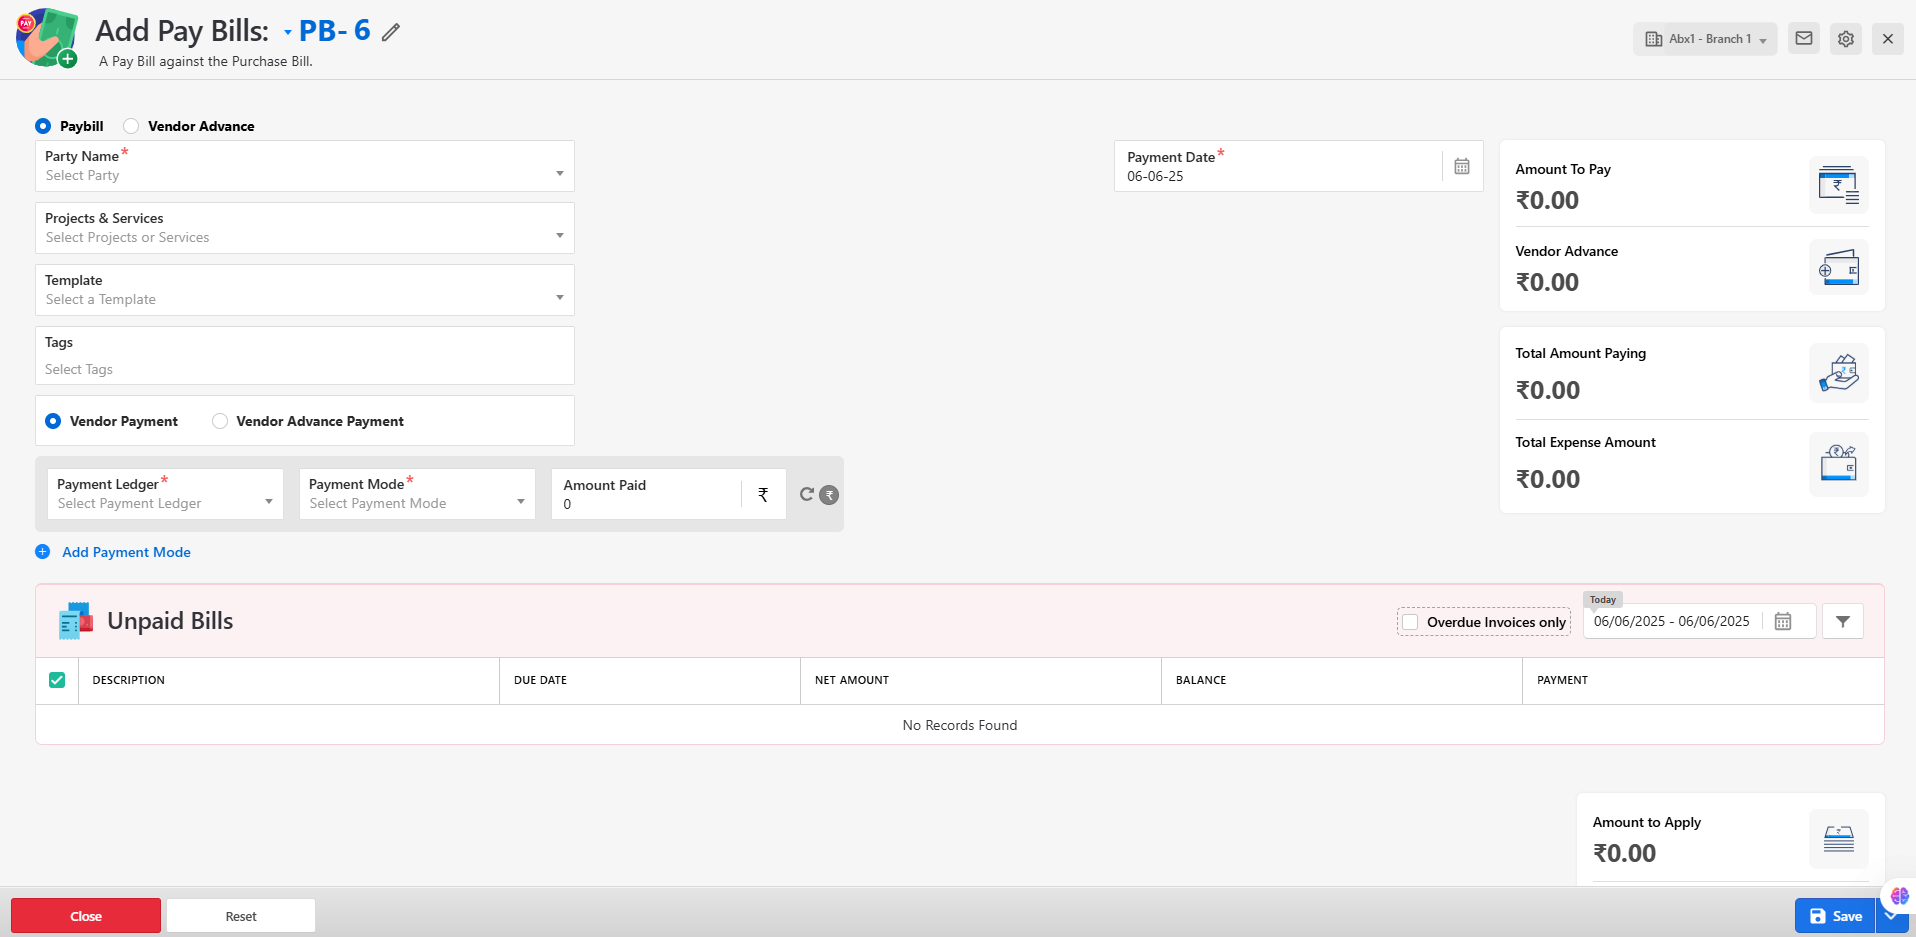
Steps to Record a Bill Payment
Navigate to Pay Bills:
- Go to the Purchases > Pay Bills section from the main menu.

View Outstanding Purchase Bills:
- The system displays a list of unpaid or partially paid purchase bills, along with party name, pay bill number, amount paid, amount due, and due date.
Initiate a New Payment:
- Click on the "Pay" or "New Payment" button corresponding to the bill you wish to settle.
Enter Payment Details:
- Fill in the required payment information, including:
-
Party name
-
Payment Date
-
Payment Mode
-
Amount to pay
Save the Payment:
- After entering the details, click Save to record the payment.
Confirmation and Receipt:
- Upon successful submission, a confirmation message will be shown, and you can view or print the payment receipt from the list.
Managing Payments
From the Pay Bills list, users can:
-
Edit payment entries (if permitted)
-
View the pay bill details
-
Delete erroneous or duplicate payments
-
Send the pay bill to the mail
Notes:
-
Payments are reflected in the vendor ledger and affect the overall payable balance.
-
Only authorized users should be able to delete or modify payment records.
-
Ensure payment records match your actual financial transactions to maintain accurate books.
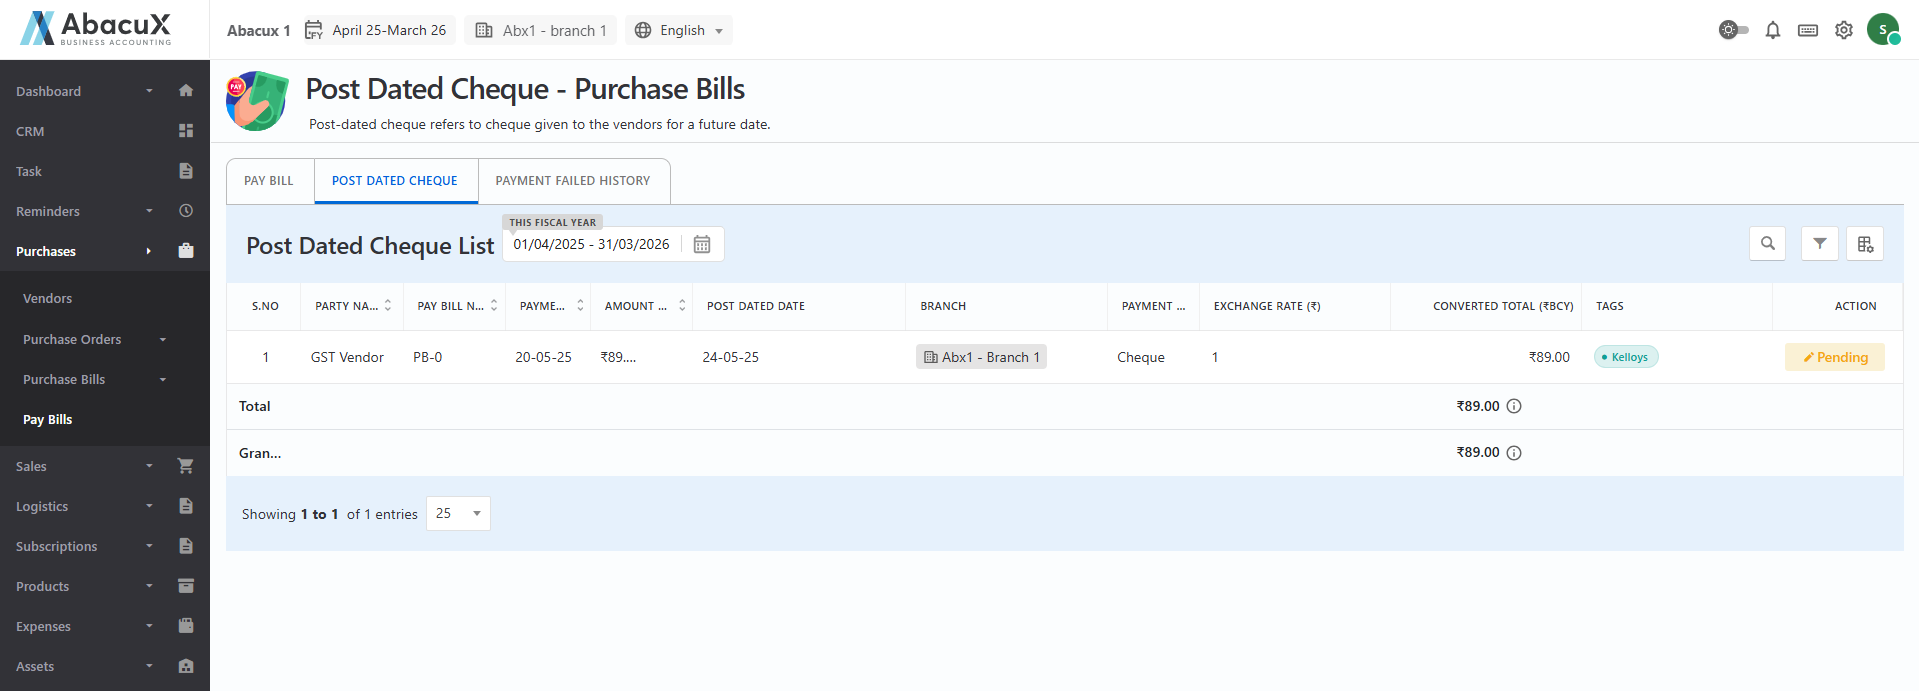
Post-Dated Cheque – Purchase Bills
A Post-Dated Cheque (PDC) is a cheque that is issued to a vendor with a future date mentioned on it. The cheque cannot be encashed until the date specified, allowing businesses to commit to a payment while deferring the actual cash outflow. In the ERP system, the Post-Dated Cheque – Purchase Bills module is used to record and manage such payments against purchase bills.
Purpose
This module is designed to:
-
Record post-dated cheque details issued against outstanding purchase bills.
-
Track upcoming payments based on cheque due dates.
-
Ensure proper vendor payment scheduling and cash flow planning.
-
Monitor and report pending, cleared, or bounced post-dated cheques.
Key Features
-
Link post-dated cheques to specific purchase bills and vendors.
-
Maintain details such as cheque number, bank name, issue date, and post date.
-
Status tracking: Pending, Cleared, or Bounced.
-
Automated reminders or status updates for due cheques.
-
Integrated with vendor ledger and accounting reports.
Manage Post-Dated Cheque Payment
Navigate to Post-Dated Cheque (Purchase Bills):
- Go to Purchase > Pay Bills and then Post Dated Cheque tab in the ERP system.
View Existing Entries:
- The list view will display all previously recorded post-dated cheque payments, including status, vendor name, bill reference, cheque number, post date, and amount.
Edit Cheque Details:
Fill in the required fields, such as:
-
Vendor Name
-
Cheque Number
-
Bank Name
-
Post Date (Cheque Date)
-
Amount
Update the Entry:
- Click the update button to record the post-dated cheque.
Notes:
-
Post-dated cheques should be updated regularly to reflect their cleared or bounced status.
-
The ERP system may optionally provide alerts or notifications for cheques due within a specified period.
-
Only users with appropriate permissions should be allowed to modify or delete cheque entries.
Payment Failed History – Purchase Bills
The Payment Failed History module is used to track and manage all failed or unsuccessful payment attempts made against Purchase Bills. This feature ensures transparency and accountability in vendor payment processes by maintaining a log of failed transactions, their reasons, and follow-up actions.
Purpose
This module serves the following objectives:
-
Record failed payment attempts made against purchase bills.
-
Help in identifying payment issues such as invalid bank details, insufficient funds, or system errors.
-
Maintain a transparent audit trail for financial reviews and vendor communication.
-
Enable users to take corrective actions promptly, such as reinitiating the payment or updating payment details.
Common Reasons for Payment Failures
-
Incorrect bank account or cheque details
-
Insufficient account balance
-
Network or server errors during online transactions
-
Payment gateway failure or timeout
-
Expired or invalid post-dated cheques
Key Features
-
Automatic logging of failed payment attempts
-
Detailed failure messages and timestamps
-
Linked reference to the original purchase bill and vendor
-
Status indicators (e.g., Failed, Retried, Resolved)
-
Reinitiation option for failed payments
-
Exportable reports for audits or reconciliations
Manage Payment Failed History
Navigate to the Payment Failed History Section:
- Go to Purchases > Pay Bills and then the Payment Failed History tab to view the list.
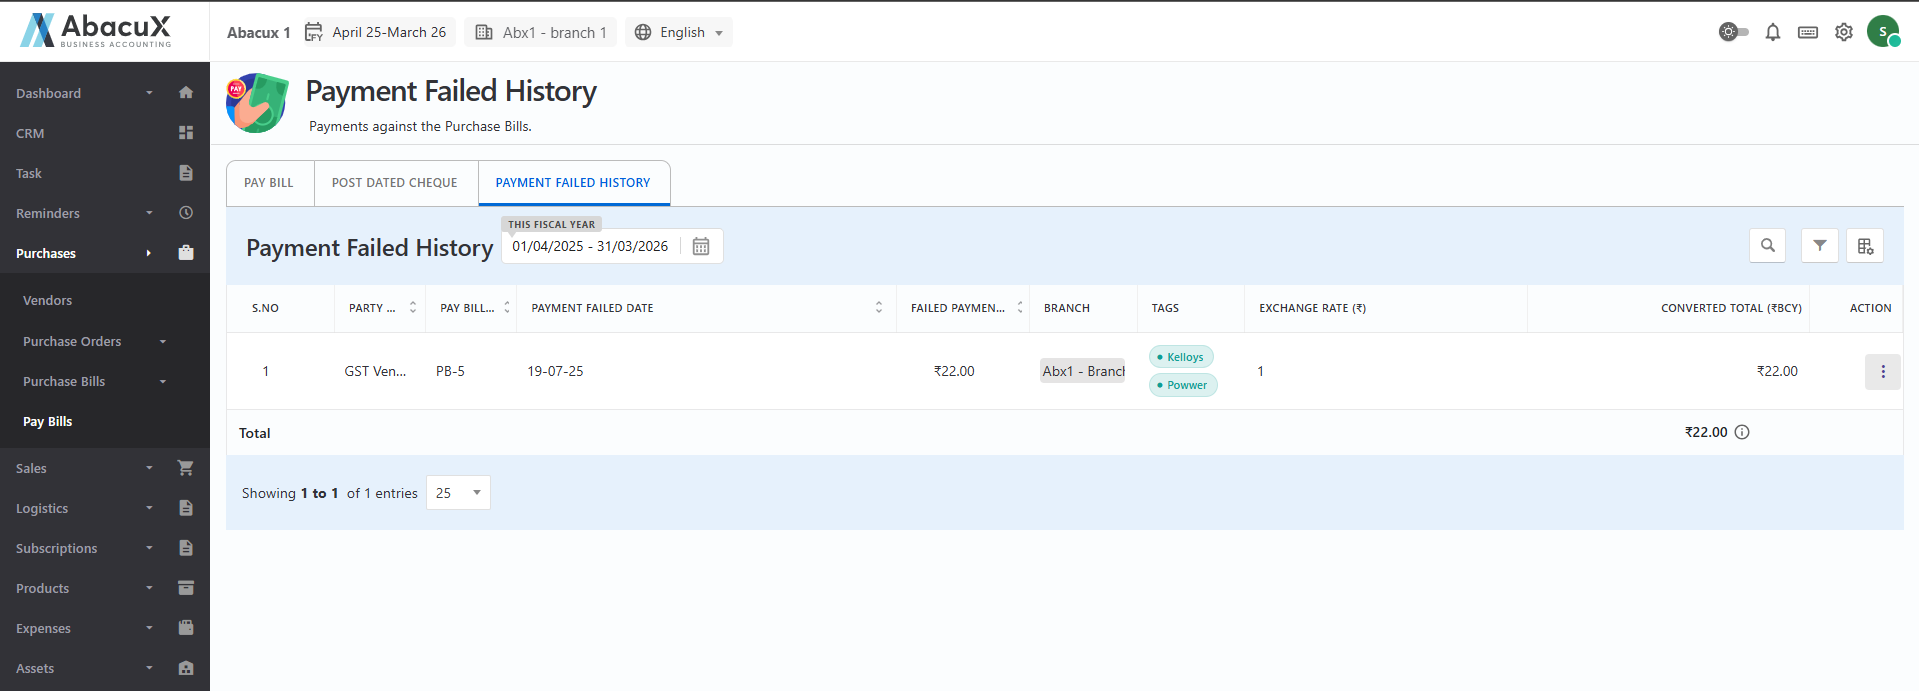
View Failed Payments List:
- A list will be displayed showing:
-
Party Name
-
Pay Bill Number
-
Payment failed date
-
Amount
Review Payment Details:
Click on any record to view full payment attempt details, including:
-
Transaction amount
-
Mode of payment (e.g., bank transfer, cheque, UPI)
-
Error or rejection message
-
Linked bill and vendor information
Notes:
-
Only authorized users should be allowed to modify or retry failed payment entries.
-
Consistent review of the Payment Failed History helps maintain good vendor relationships and avoid overdue penalties.
-
Ensure all payment gateway integrations and network services are properly monitored to reduce failures.